Everything you need to know before you take your first step into the Wasteland – from your first campfire to late-game boss runs.
Table of contents
- What is Once Human
- bases de la survie
- Crafting and base building
- Character progression and builds
- Contamination zones and bosses
- Beginner tips that actually matter
- Build comparison table
- Final word
01 ·What is Once Human
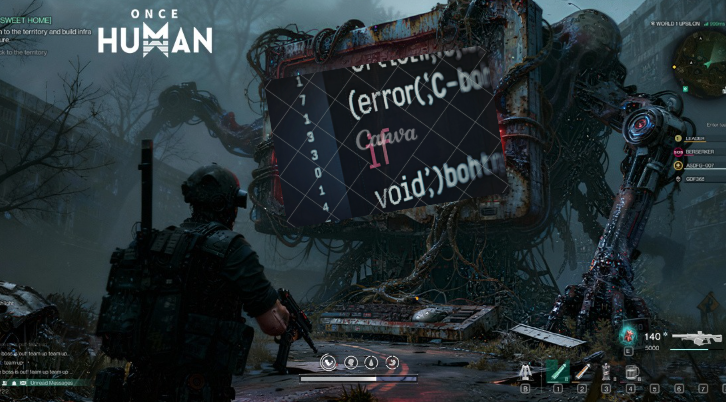
Once Human is a free-to-play open-world survival MMO developed by Starry Studio. It drops you into a near-future Earth ravaged by a mysterious substance called Stardust — a cosmic contamination that rewrites DNA, warps the landscape and turns wildlife into something you really do not want to meet unarmed at night.
The game blends survival mechanics you will recognise from titles like Rust or DayZ with a genuinely interesting narrative layer and a seasonal reset system that keeps every playthrough feeling fresh. It launched in mid-2024 and has built a solid community around its mix of PvE exploration, base building and optional PvP servers.
If you have played survival games before, the loop will feel familiar. If this is your first time in the genre, the learning curve exists but it is not punishing once you understand the fundamentals — which is exactly what this guide covers.
Game loop overview
  ┌─────────────────────────────────────────────────────┐
  │                   ONCE HUMAN LOOP                   │
  ├──────────────┬──────────────┬───────────────────────┤
  │   SURVIVE    │    BUILD     │      PROGRESS         │
  │              │              │                       │
  │  Eat. Drink. │  Territory.  │  Memetics tree.       │
  │  Stay sane.  │  Craft.      │  Research table.      │
  │  Avoid       │  Defend.     │  Blueprints.          │
  │  contamination│  Expand.    │  Season goals.        │
  └──────────────┴──────────────┴───────────────────────┘
            ↓               ↓               ↓
        Daily survival → Better gear → Harder content
02 ·Survival basics
The game tracks three core stats at all times: health, sanity and stamina. Health is obvious. Stamina governs sprinting and melee. Sanity is the one that catches new players off guard — let it drop too far and you start hallucinating, taking passive damage and eventually dying from exposure alone.
Food and water
Raw water from rivers and puddles is contaminated. Drinking it directly will hurt your sanity faster than almost anything else early on. Your first goal after spawning is to build a campfire and a basic water purifier. Boiled water keeps you alive without side effects and cooked food provides meaningful stat buffs on top of hunger reduction.
Protein from animal meat gives a stamina bonus. Vegetables and foraged plants tend to restore sanity. Once you understand that, you start cooking intentionally rather than just eating whatever is in your bag.
Sanity and the contamination meter
Sanity degrades passively in high-contamination zones and recovers slowly in clean areas or when you sleep inside a sheltered base. Wearing a gas mask slows the drain significantly. Certain foods and consumables restore it on demand. The contamination meter on your screen is separate — it measures how much Stardust your body has absorbed. Push it too high without purging and you start taking direct health damage.
Warning
Red zones on the map have a built-in timer. Stay past 20 minutes without a decontamination kit and the game treats your contamination level as locked at maximum. Plan your runs before you enter.
The three stats at a glance
| Stat | What depletes it | How to recover | Priority |
|---|---|---|---|
| Health (HP) | Combat, falls, contamination overdose | Bandages, cooked food, medkits | Critical |
| Sanity | Red zones, raw water, prolonged darkness | Vegetables, sleep, clean air areas | Critical |
| Stamina | Sprinting, melee combat, climbing | Rest, protein-rich food, passive regen | Medium |
03 ·Crafting and base building
Crafting in Once Human follows a blueprint system. You do not unlock recipes by levelling up — you find or research blueprints, then craft the required station to produce the item. It sounds complicated at first but after a few hours it becomes intuitive.
Crafting priority in the first few hours
- Collect stone and wood immediately. You need both for the basic workbench and every tier-one tool.
- Build the campfire and water purifier before logging off for the first time. Logging back in with no food or clean water is a rough start to a session.
- Craft a stone pickaxe then replace it with an iron one as soon as you find ore deposits. The difference in gather speed is significant.
- Unlock the research table at around level 10. This is where the real crafting tree opens up — weapons, advanced gear, base components.
- Start gathering Stardust bricks for your territory walls. Concrete and treated materials resist nighttime attacks far better than wood.
Base building and territory
Your territory is the plot of land you claim as your base. Placement matters more than most new players realise. A base near a river and a forest means you have water and wood in constant supply. A base near a main road means you will get raided more often in PvP modes.
The base has a power grid system — generators feed cables that power crafting stations, lights and automated defenses. Keeping generators inside your walls stops enemies from destroying your power supply before a raid.
Basic base layout (top-down view)
  ┌─────────────────────────────────────────────┐
  │  [Wall · concrete]                          │
  │                                             │
  │   [Storage]  [Workbench]  [Research table]  │
  │                                             │
  │   [Generator] ──── [Turret] ─── [Turret]   │
  │                                             │
  │   [Bed]   [Campfire]   [Water purifier]     │
  │                                             │
  │  [Hidden exit]               [Main gate]    │
  └─────────────────────────────────────────────┘

  → Generators inside. Turrets facing main approaches.
  → Always include a second exit you can reach quickly.
Useful detail
Organising your storage chest by category — resources, consumables, weapons — saves a surprising amount of time. Searching through a single pile for one component gets old fast when you are mid-crafting session.
04 ·Character progression and builds
Once Human does not use a traditional class system. Instead it uses Memetics — modular talent trees you build from by spending Meme points earned through playing and completing goals. You can mix branches freely which means your character ends up shaped by your playstyle rather than a preset archetype.
The Memetics tree structure
Three main branches cover most of what you will want to build toward: Combat, Survival and Logistics. Combat nodes boost damage, weapon handling and cooldowns. Survival nodes raise your health ceiling, contamination resistance and recovery rates. Logistics nodes speed up crafting, increase carry weight and improve base efficiency.
Early on it is tempting to go deep into Combat because killing things is satisfying. The practical advice is to put your first points into the Survival branch — higher HP and contamination resistance means you survive mistakes while you learn the game. You can respec later.
Seasons and why they matter
The game runs on roughly six-week seasons. At the end of each season characters reset — you lose your gear and progression but keep cosmetics and some account-level unlocks. This is intentional. It means the meta shifts, new players are not permanently behind and every season is a genuine fresh start.
Because of this the game rewards players who can progress efficiently rather than players who just play the most hours. Knowing what to prioritise — which this guide addresses — is worth more than raw playtime.
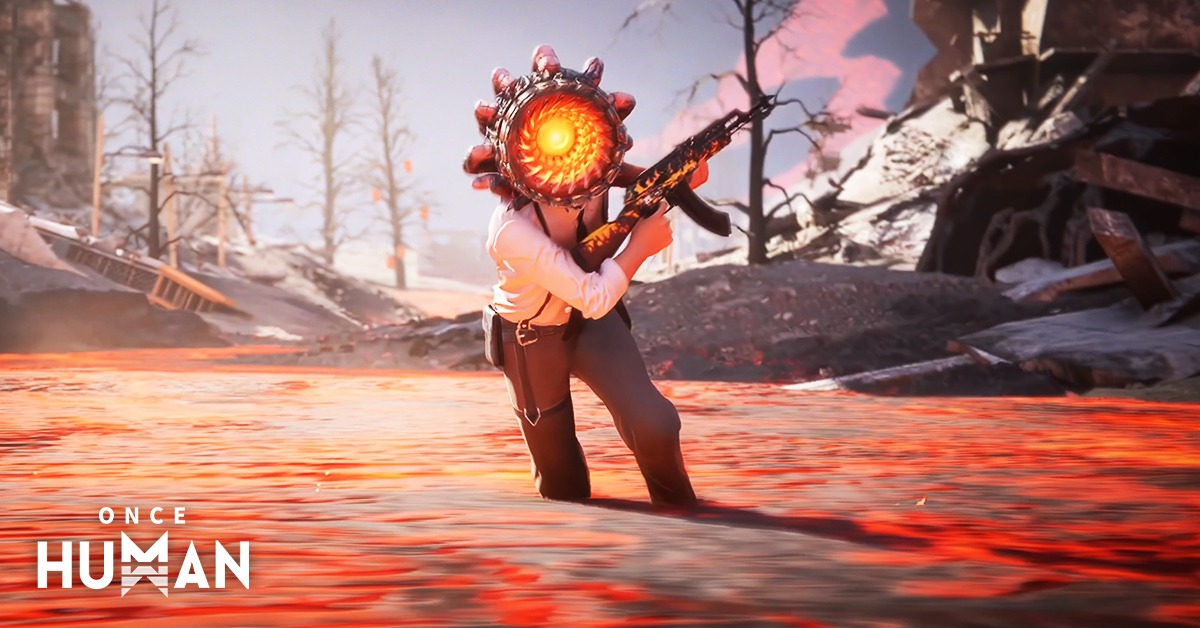
05 ·Contamination zones and bosses
The map is divided into clean zones, yellow zones and red zones. Yellow zones carry moderate risk and are the main source of mid-game resources. Red zones are the dangerous areas where Stardust concentration is at its peak — also where the best loot and the most important crafting materials are found.
Types of encounters to prepare for
| Encounter | Difficulty | Group size | Notable drops |
|---|---|---|---|
| Rosetta (zone boss) | Entry | Solo or duo | Rare components, early blueprints |
| Rayne (instance boss) | Medium | Group of 4 | Tier 2 weapon blueprints |
| Field boss (random spawn) | Medium | Open — any player can join | Shared loot based on damage contribution |
| Brood Mother (season boss) | Hard | Full squad required | Season-exclusive legendaries |
Field bosses are worth joining even if you are low level. Your contribution still counts toward loot eligibility and the bosses themselves are a good way to learn attack patterns in a low-stakes group setting — there are always higher-level players doing most of the heavy lifting.
Resource note
Stellar Dew – found only inside contamination zones – is the mid-game resource everyone wants. It is used in almost every tier-two crafting recipe. Farm it during timed red zone runs and store it carefully. It does not drop from vendors.
06 ·Beginner tips that actually matter
These are the things that would have saved me several frustrating deaths and wasted hours when I first started playing.
- Join a guild before level 10. The group bonuses are substantial — shared resource storage, coordinated defense and someone to answer basic questions in real time.
- Do not spend Starchrom on cosmetics early in a season. Save the premium currency for blueprint unlocks that persist or season pass upgrades with actual utility.
- Use the Scenario Goals panel as your roadmap. It is easy to ignore but it structures progression efficiently and prevents aimless grinding that goes nowhere.
- Always carry at least two decontamination kits before entering a red zone. One for the run. One in case the first does not go to plan.
- Learn the regional field boss spawn timers for your server. They follow a schedule and showing up prepared — with your damage build active — gets you a seat at the loot table.
- Customise your consumable hotbar before every dungeon run. Managing your healing manually during combat is slow and the interface does not forgive hesitation.
- Do not underestimate nighttime threats to your base. Automated turrets need power to function. Keep your generator fuelled before you log off.
- Prioritise weekly quests for rare tier materials over solo farming. The reward-to-time ratio is not close.
07 ·Build comparison table
Four main playstyles emerge from the Memetics system. None of them is strictly best — the right one depends on how you enjoy playing and what your group needs.
| Build | Primary branch | Strengths | Weaknesses | Best for | Difficulty |
|---|---|---|---|---|---|
| Rifleman | Combat — ranged | High single-target DPS. Safe engagement range. | Low survivability if caught in melee range. | Boss runs, solo PvE | Medium |
| Survivor Tank | Survival — defense | Maximum HP and contamination resistance. Very forgiving. | Slow kill times. Not useful in organised PvP. | Exploration, red zones, new players | Beginner |
| Crafter Builder | Logistics — crafting | Faster crafting, better resource efficiency, larger carry weight. | Weak in combat without investment. Relies on teammates for protection. | Co-op squads, base development | Beginner |
| Medic Support | Survival — support | Team healing, group buffs. Extremely valuable in organised squads. | Near-useless when playing solo. Requires coordination. | Guild PvP, group dungeons | Advanced |
If you are starting fresh, the Survivor Tank or the Crafter Builder will carry you through the first two weeks of a season without major frustration. The Rifleman is a strong pick once you understand weapon handling and positioning. Medic Support is best saved for when you have a stable, communicating group to play with.
Memetics branch priority by playstyle
  SOLO PLAYER
  ┌───────────────────────────────────────────────┐
  │  Survival ██████████ (60%)                    │
  │  Combat   ██████     (35%)                    │
  │  Logistics█          (5%)                     │
  └───────────────────────────────────────────────┘

  CO-OP / GROUP
  ┌───────────────────────────────────────────────┐
  │  Combat   ████████   (50%)                    │
  │  Logistics████       (25%)                    │
  │  Survival ████       (25%)                    │
  └───────────────────────────────────────────────┘

  DEDICATED SUPPORT
  ┌───────────────────────────────────────────────┐
  │  Survival █████████  (55%)                    │
  │  Logistics████       (25%)                    │
  │  Combat   ███        (20%)                    │
  └───────────────────────────────────────────────┘
08 ·Final word
Once Human rewards curiosity. The players who do well are not necessarily the ones with the most hours – they are the ones who take time to understand the systems: why sanity matters, how to craft efficiently, when to push into a red zone and when to retreat.
The seasonal structure keeps the game from feeling stale, and the community around it is active enough that finding a solid group to play with is genuinely easy. Start with a Survivor Tank build, complete your Scenario Goals before you do anything else and do not ignore the weekly quests.
The Wasteland is hostile by design. That is the point. Once you stop fighting the game and start working with its rhythm, it becomes one of the more satisfying survival MMOs available right now.